Yesterday's blog left the scarecrow at the bare armature stage. Here's what happened next.
Step Five – Make the Body.
For this, I used a pillowcase. My method was slightly different to Kirstie’s in that I stapled the back of the opening to
the scarecrow’s shoulders, put a bin sack inside to waterproof the newspaper
stuffing, and filled up the pillowcase. The body hangs down in front of the vertical
support, from the shoulders, and will be held in place by any clothes that are
used to dress the scarecrow later. Meanwhile, the torso is very easy to stuff. It is surprising how much paper it takes to stuff
a scarecrow!


Step Six - Attach the legs
These were made from a pair of old, thick tights. The
first step was to stuff the legs of the tights firmly with newspapers contained
in smaller plastic bags, up to the top of the legs. I put the scarecrow’s
tights on when the pillowcase was about half full of newspaper. The tights give
the ‘crow’ a nipped in waist. They are self supporting, but if you are worried
about them staying on, you can pin them in place with safety pins.

More newspapers were added to the pillowcase,
until the scarecrow was stuffed full up to the top. At this point, the bin sack
and the front of the pillowcase were stapled to the shoulders to close up the
body. If you want a fatter scarecrow, you can add more plastic bags containing
newspaper to the tummy or hips, between the pillowcase and the tights, to
provide additional padding.
If the legs stretch, as sometimes happens with
tights, you can adjust their length at any point in the ‘build’ by squeezing
the papers up from the toes, and tying a knot at the foot end, to shorten the
legs. Remember, though, to leave enough length of ‘leg’ to form a foot. The same applies to the arms. You can see the knots where I have shortened by scarecrow's arms.

The arms were made from another pair of old tights, with the pants cut off. As before, the tights were stuffed with newspaper, contained in small plastic bags. It is good to adjust the size of the bag to the size of the limb that is being modelled: larger bags for the torso and thighs, smaller bags for the arms. Likewise, it is good to scrunch smaller balls of newspaper for the smaller limbs and larger balls for the torso. When they were full, the arms were stapled firmly to each shoulder using a staple gun. This is a job for a grown up!
Step Seven - The Face.
Kirstie used a pillowcase for her scarecrow but I
used a smaller rectangular face bag, with a finished size of about 400 mm wide by 600 mm deep. These were run up quickly on a sewing machine from flesh
coloured cotton, calico or hessian. The face should be decorated before it is
put on the ‘crow’. As mine is just a demonstration, I have not decorated my scarecrow's face. Buttons are good, or a painted face looks great.

A few points to bear in mind:
·
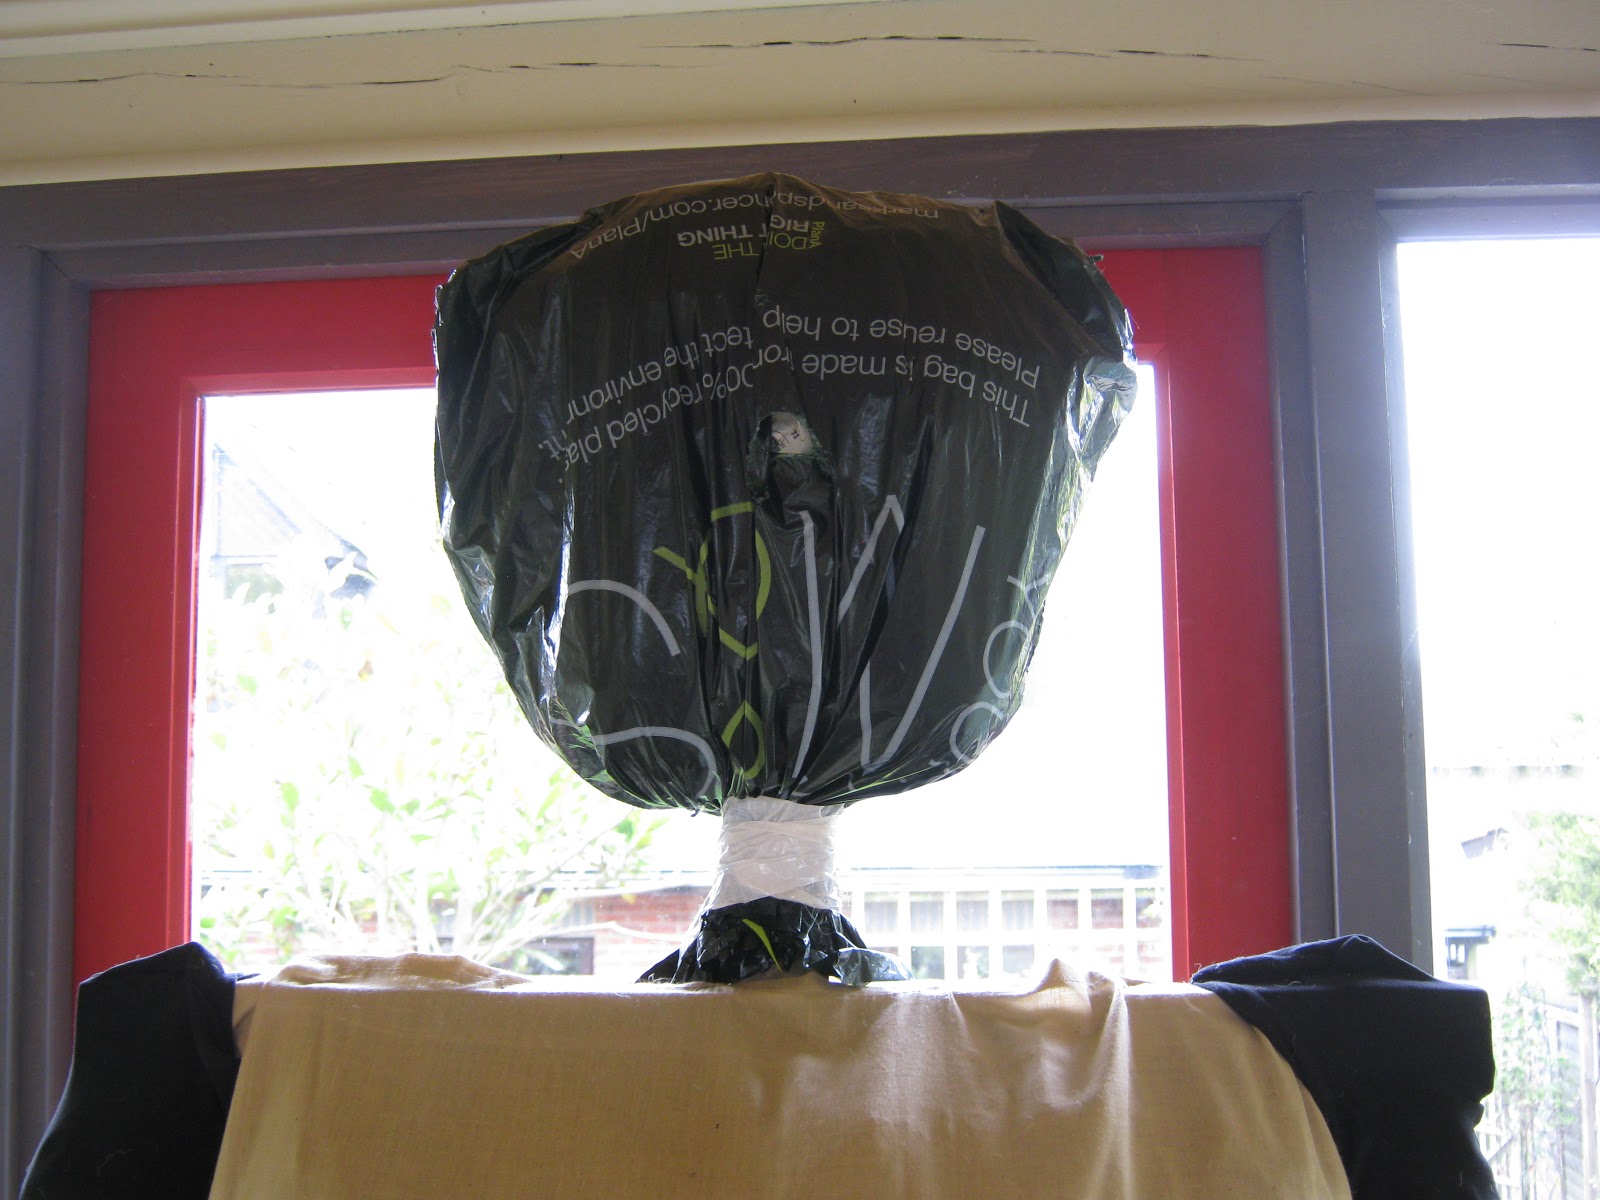
The plastic bag that is used to waterproof the face
needs to be thicker and stronger than those used to contain the body stuffing
as it takes quite a beating when the face is stuffed.
·
I put the plastic bag onto the face plate, stuffed
it with small balls of newspaper and secured it with builder’s tape, and then I
slipped the face bag on afterwards, as it is easier to stop the newspapers from
falling out at the neck if you are only manipulating one layer. If you do this,
make sure that you don’t over stuff the plastic bag, though newspaper is very
forgiving and can be squeezed small so that the face bag can be pulled down.
·
If you are making a larger than life sized head,
check that any clothes that do not open down the front will go over the head
before you attach it to the armature.
Step Eight- Dress The Scarecrow
At this point, almost anything goes. Safety pins
come in useful. Clothes can be made to look older by sewing or gluing on colourful
patches cut from different materials. I can’t wait to see what people bring to
tomorrow’s workshop to dress their ‘crows’.

No comments:
Post a Comment